How Do I Frame a Watercolor Print? A Simple Guide
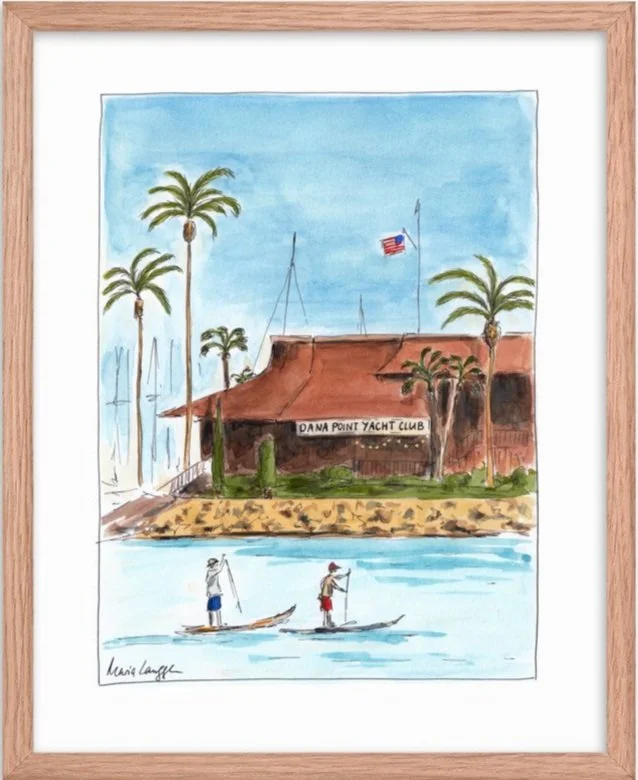
Framing your new art print can feel intimidating, especially if it’s a delicate watercolor reproduction. The good news? It’s easier than you think—and the right frame can truly elevate your piece. Here’s how to do it with confidence.
Step 1: Choose the Right Size
Start by checking the dimensions of your print. Most artists, including me, offer standard sizes like 5x7, 8x10, 11x14, and 16x20 inches. These sizes are easy to frame with store-bought or custom frames.
If your print includes a white border, you may not need a mat—but using one can add polish and help the art stand out.
Step 2: Pick a Frame Style
For watercolor prints, especially coastal art, a clean and natural frame works best:
White or light wood for a fresh, beachy feel
Matte black for contrast and modern spaces
Driftwood or rustic wood for a laid-back, seaside look
You can choose a frame with or without a mat, depending on your aesthetic. A mat can give the piece more presence, especially in smaller sizes.
Step 3: Protect the Print
Even though high-quality prints use archival paper and ink, it’s still smart to protect them:
Use UV-protective glass or acrylic if possible
Avoid placing prints in direct sunlight or humid areas
Use acid-free backing for longevity
If you want to skip the framing process altogether, I’ve got you covered—I offer framed prints that arrive ready to hang.
Bonus Tips
For gallery walls, mix sizes but keep a consistent frame color
For gifts, choose standard sizes so the recipient can easily reframe if needed
Floating frames work beautifully with borderless prints for a modern look
Final Thought
Framing doesn’t have to be stressful. Whether you DIY it or choose one of my framed print options, your watercolor art deserves to shine—and the right frame helps it do just that.