How Are Art Prints Made? A Behind-the-Scenes Look
Ever wondered how artists turn their original work into high-quality prints? If you’re curious about the process—or want to make sure you’re buying a well-made piece—this post breaks it down.
Step 1: Digitizing the Artwork
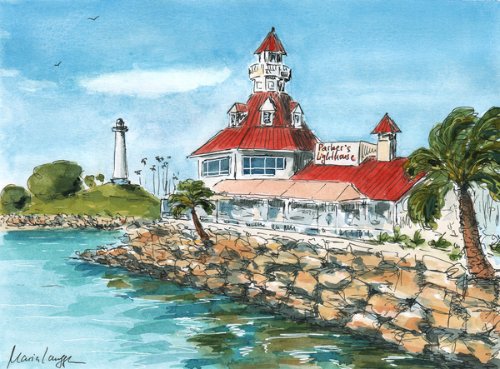
The first step in making an art print is capturing the original painting in digital form. For my coastal ink and watercolor pieces, I use a high-resolution scanner to preserve every detail.
High-resolution scanning ensures color accuracy and sharpness
Lighting and color correction are adjusted digitally to match the original
Any specks or dust are cleaned up without altering the art itself
Step 2: Choosing the Right Paper
Not all paper is equal. I use archival, museum-quality paper that resists fading and has a beautiful matte finish. While it doesn’t have texture like watercolor paper, it holds ink beautifully and gives the print a professional, gallery-ready look.
Step 3: Printing with Archival Inks
The prints are made using professional-grade printers and archival pigment inks, which provide vibrant colors and long-lasting results. These inks are fade-resistant and capable of capturing the subtle gradients found in watercolor art.
Step 4: Proofing
I personally review a test print before releasing a new piece. This helps ensure:
Colors match the original artwork
No details are lost in translation
The feeling of the piece is preserved
If the print doesn’t feel right, I go back and adjust until it does.
Step 5: Packaging with Care
Once a print is approved and ordered, it’s packaged with care:
Smaller prints are shipped flat
Larger prints are rolled in protective tubes
Every piece includes a backing board and protective sleeve (when applicable)
Final Thought
Creating a fine art print isn’t just about duplicating an image—it’s about honoring the original. From scan to print to packaging, I treat every step with intention so that you receive something beautiful, lasting, and true to the spirit of the coastal places that inspire me.